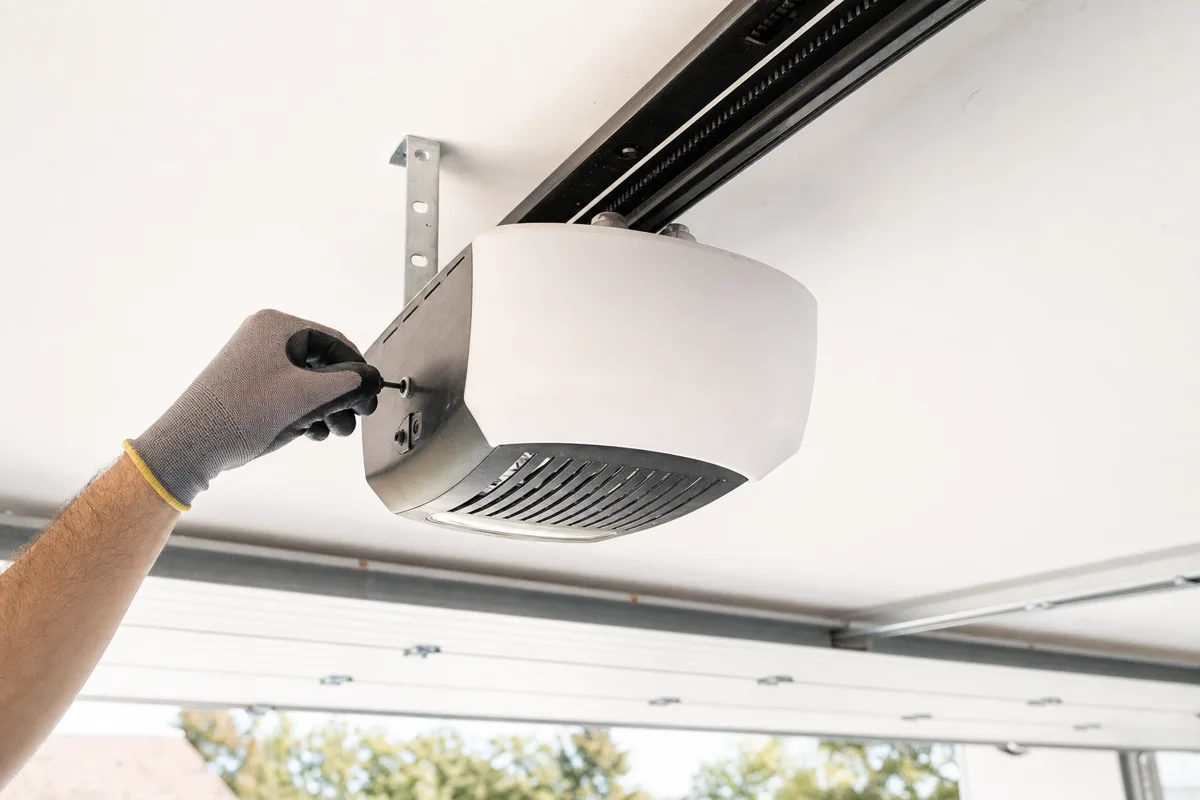

Garage Door Opener Repair
Diagnosing motor, sensor, control, and drive faults without masking door problems.
View serviceThe door begins to descend, then reverses. Or it stops just above the floor and refuses to finish the trip. Begin with the safety system and the threshold, not with more force from the opener.
First clear the threshold and photo-eye path, then clean the two sensor lenses and check their alignment lights. A broken or misaligned beam tells the opener to reverse while closing. If the beam looks normal but the door still reverses, watch for ice, a damaged roller, a bent track, or an uneven bottom gap. Do not turn up closing force to make a resistant door shut.
A closing door has two jobs: it must see a clear photo-eye beam and it must move without more resistance than the operator expects. When either condition fails, a modern opener commonly stops and reverses rather than pressing the door into the floor. That is useful information. Keep people, pets, and vehicles clear, watch from a position with both bottom corners in view, and make only one test after each safe check. Do not hold the wall button to defeat a normal closing cycle, increase the force setting, or keep pressing the remote. A door that reaches the floor and then reverses can have a blocked beam, a limit setting issue, ice at the seal, or drag in the hardware. A door that tilts, scrapes, or has a loose cable is a repair issue, not a controls problem.
Start at the top. The early checks are the most common causes and need no tools.
Remove bins, tools, leaves, packed snow, and anything crossing the doorway. Look along the complete bottom seal for a stone, an ice ridge, or a mat that has curled beneath it. Make one closing attempt only after the path is clear, and note the exact point where the door stops or reverses.
What it means: A normal close after clearing the threshold points to a simple obstruction.
The sensors are mounted low on opposite tracks. Wipe each lens with a dry, soft cloth, remove cobwebs and stored items from the beam path, and check that neither bracket has been knocked out of line. Compare the indicator lights to the normal signal described for that opener. Do not tape over a lens or block the beam to make the door run.
What it means: An abnormal or flickering sensor light points to the safety beam rather than the door itself.
If the problem appears only at a certain bright time of day, shade the receiving sensor briefly with a piece of cardboard held beside it, without covering the doorway or touching the sensor. Then try one standard close. A receiver flooded with direct light can lose the signal from its partner and command a reversal.
What it means: A steady light and a successful close while shaded suggest light interference.
With the whole door visible, use the wall control for one normal closing command. If it closes only while the button is held, treat that as a safety-circuit warning, not a daily workaround. Check whether the control's lock function is active, but do not use constant pressure to overcome a sensor fault or a sticking door.
What it means: Hold-to-run closing usually means the photo-eye circuit needs attention.
With the door fully closed, look for a roller sitting crookedly, a visibly bent track, a cable that has gone slack, or a seal that is frozen to the slab. Do not touch cables, drums, springs, or lower brackets. If the door returned from the same point with rubbing, shaking, or an uneven gap, do not test it again.
What it means: Uneven travel, a slack cable, or track damage means the door needs a mechanical repair.
Stop using the door if it closes crookedly, catches in the track, makes a hard mechanical sound, or shows a loose cable. Do not adjust the opener's force or travel limits to hide that resistance. Never touch torsion springs, winding hardware, cables under tension, drums, or lower brackets. A torsion spring stores enough energy to cause serious injury. Leave the door closed if it can be closed safely, keep the opening clear, and use the online form to request an inspection.
Oakville-area winters bring roughly 114.5 cm of snow and about 45 snowy days in a typical year. Slush, salt film, and windblown snow first collect around the low-mounted photo eyes. In a snow event, a clean threshold and a quick lens check are more useful than repeated remote commands. If a damaged door section eventually makes replacement the sensible option, replacing a same-size door does not need a Town building permit; enlarging the opening does and carries a minimum $200 permit fee.
Fill out the form and we'll confirm your appointment by email.
These guides are written for Oakville homes. If the fix is beyond a homeowner check, we work everywhere inside this area.
Map data © Google. Pin shows the service area, not a walk-in location — all work is done at your home.

A real callout, not stock imagery.
A sectional door pulled off its tracks, taken down and supported on site so it could be checked and re-hung safely — photographed on the job.
